Deploy Your First Flask Web Application in Minutes with JustRunMy.App
Deploying your first web application can be daunting, especially if you're new to web development. But with JustRunMy.App, you can deploy your Flask application in just a few minutes, without dealing with complex server configurations or infrastructure setup.
In this guide, we'll show you how to deploy a simple Flask web application using JustRunMy.App. Our step-by-step instructions are easy to follow and designed to help you get your app online quickly and hassle-free.
Prerequisites and Getting Started
Before you begin, here's what you'll need:
- A basic understanding of Python and Flask.
- An account on JustRunMy.App. Sign up here.
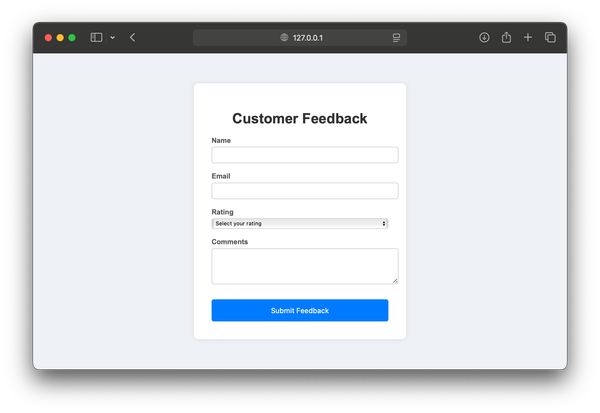
- A simple Flask web application ready for deployment (e.g., a "Hello World" app).
Step-by-Step Deployment Guide
Preparing Your Flask Application
Start by creating a basic Flask web application. If you haven't already, here's a quick guide:
- Create a new directory for your Flask app and navigate into it:
mkdir my-flask-app
cd my-flask-app
- Install Flask:
pip install flask
- Create a file named app.py with the following content:
from flask import Flask
app = Flask(__name__)

@app.route('/')
def hello_world():
    return 'Hello, World!'

if __name__ == '__main__':
    app.run(debug=True)
- Test your application locally by running:
python app.py
Packaging Your Flask Application
Once your Flask app is ready and tested locally, you need to package it for deployment by creating a zip archive.
Creating a Zip Archive on Windows:
- Right-click on your application folder.
- Select "Send to" > "Compressed (zipped) folder"
Creating a Zip Archive on macOS:
- Right-click (or Control-click) on your application folder.
- Select "Compress my-flask-app"
Using Terminal (Windows, macOS, or Linux):
zip -r my-flask-app.zip my-flask-app/
Uploading to JustRunMy.App
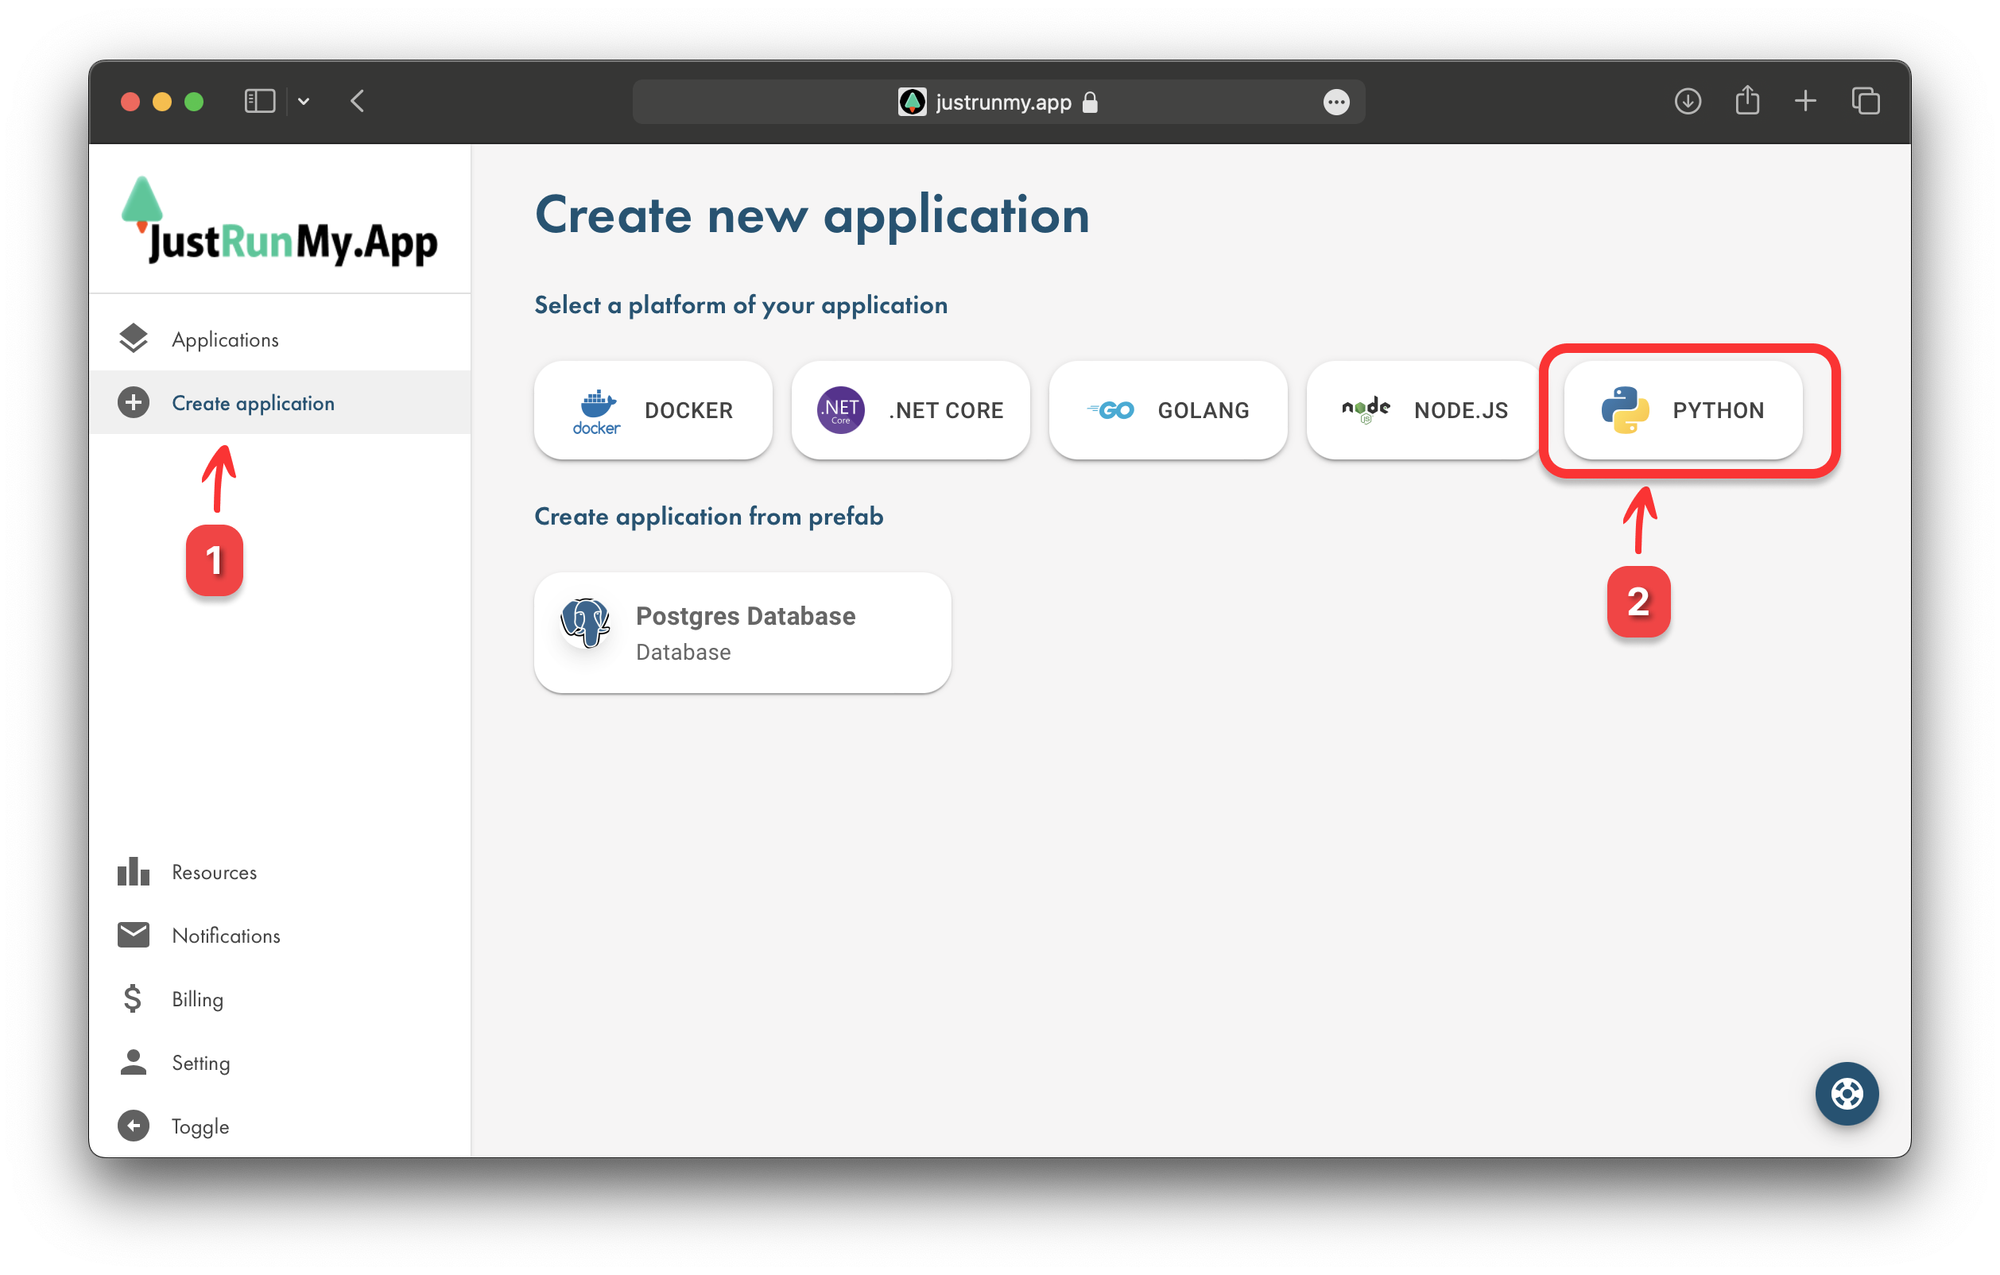
- Log in to your JustRunMy.App dashboard.
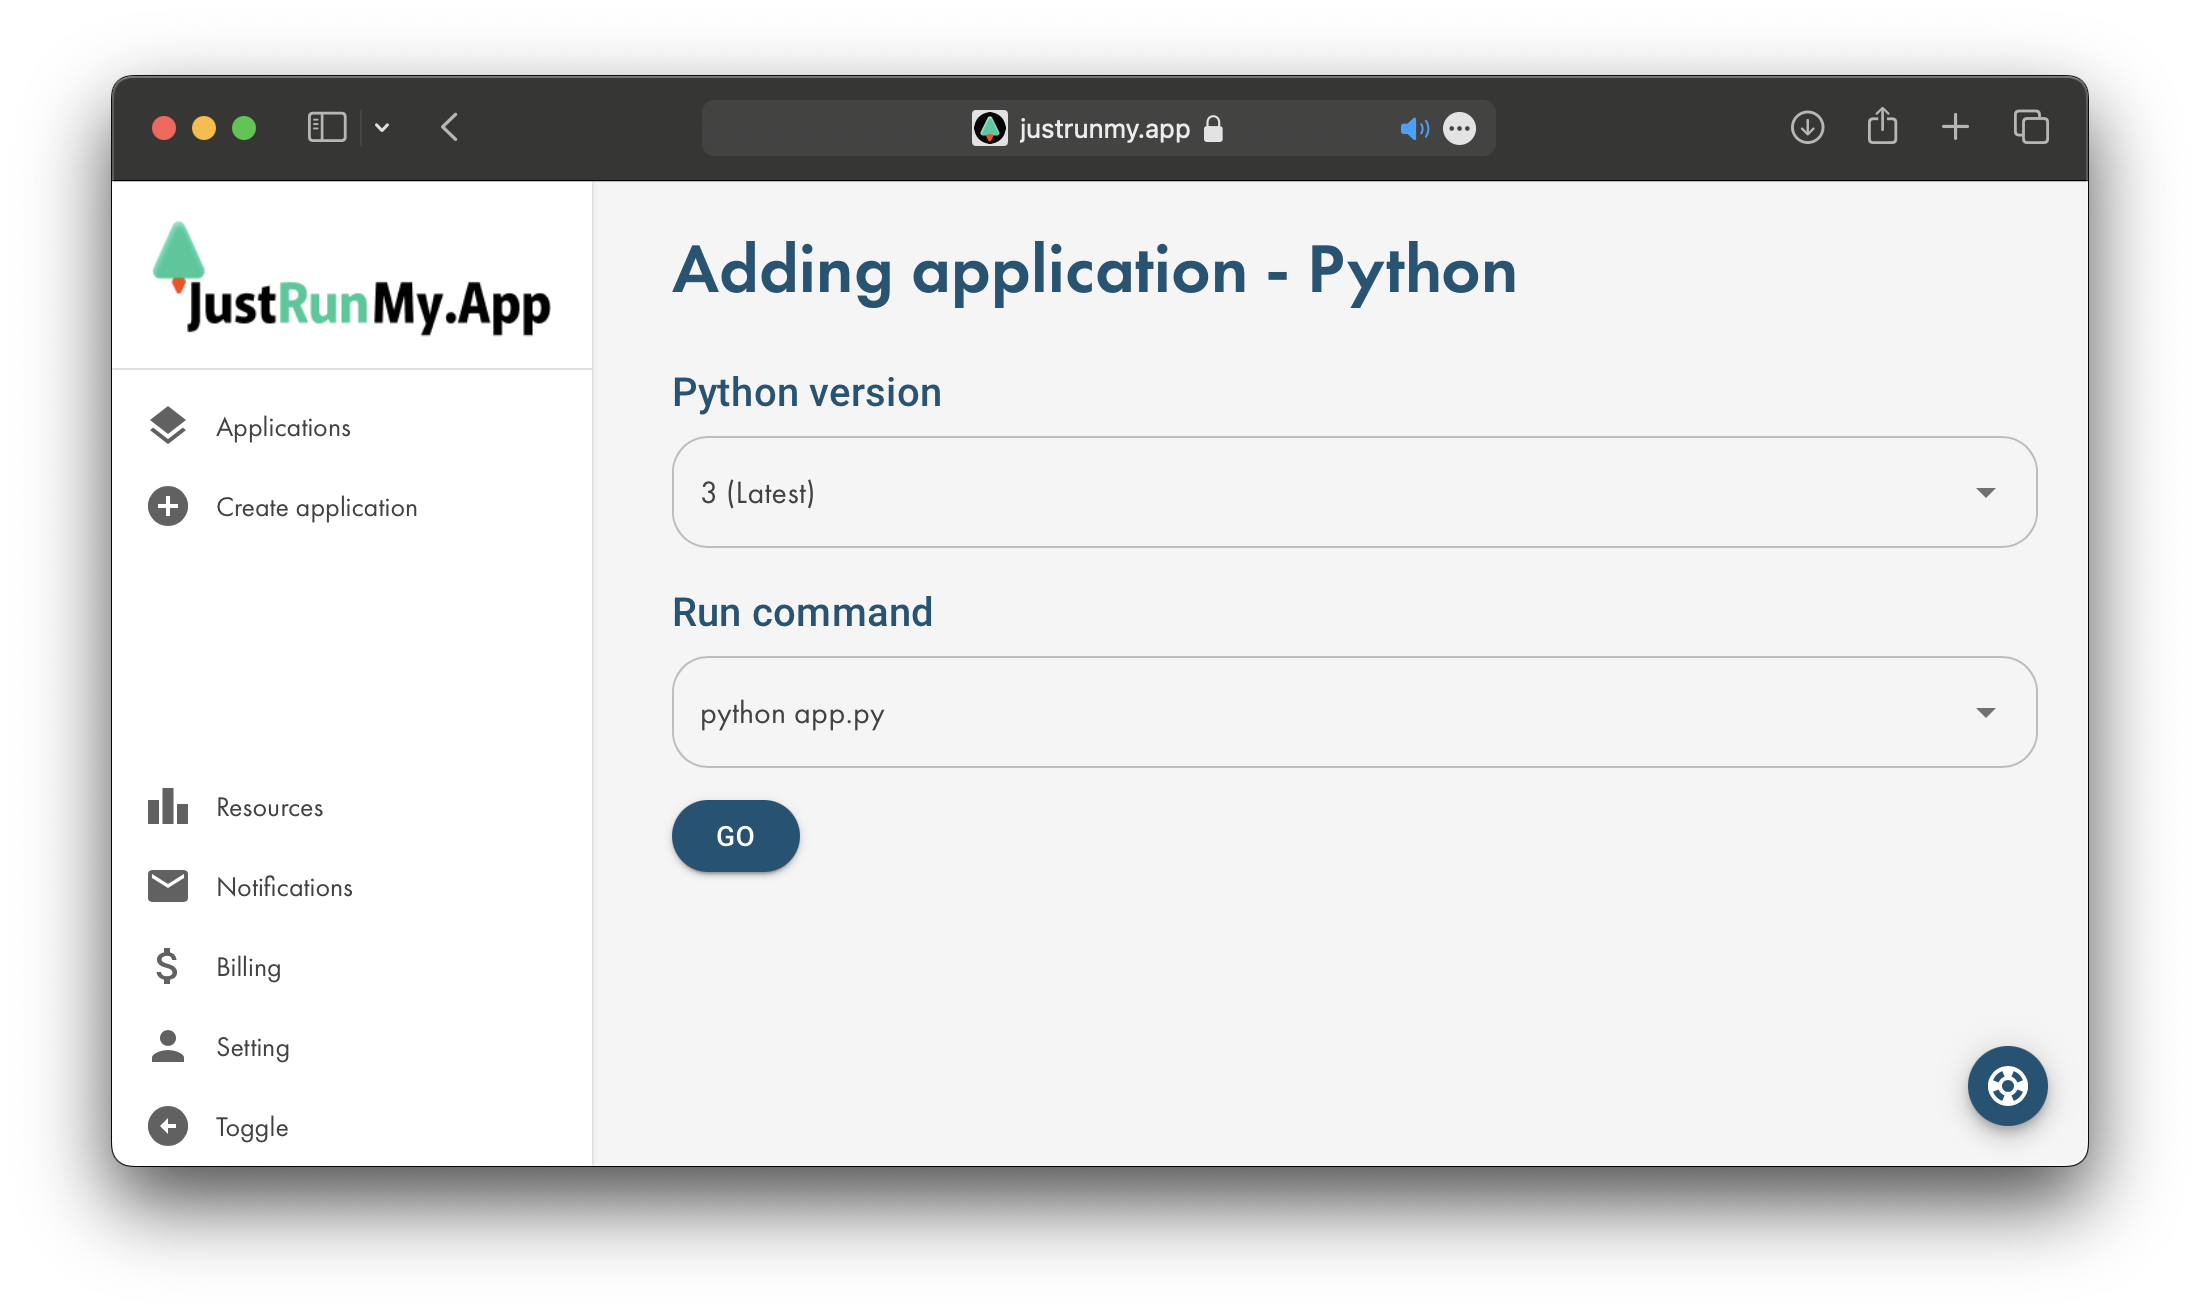
- Click on "Create Application" and select "Python"
- Upload your
my-flask-app.zipfile. - Wait for the archive analysis and click "Go"
- After the application is created, you will be redirected.
- Congratulations! Application has been created.
Configuring Deployment Settings
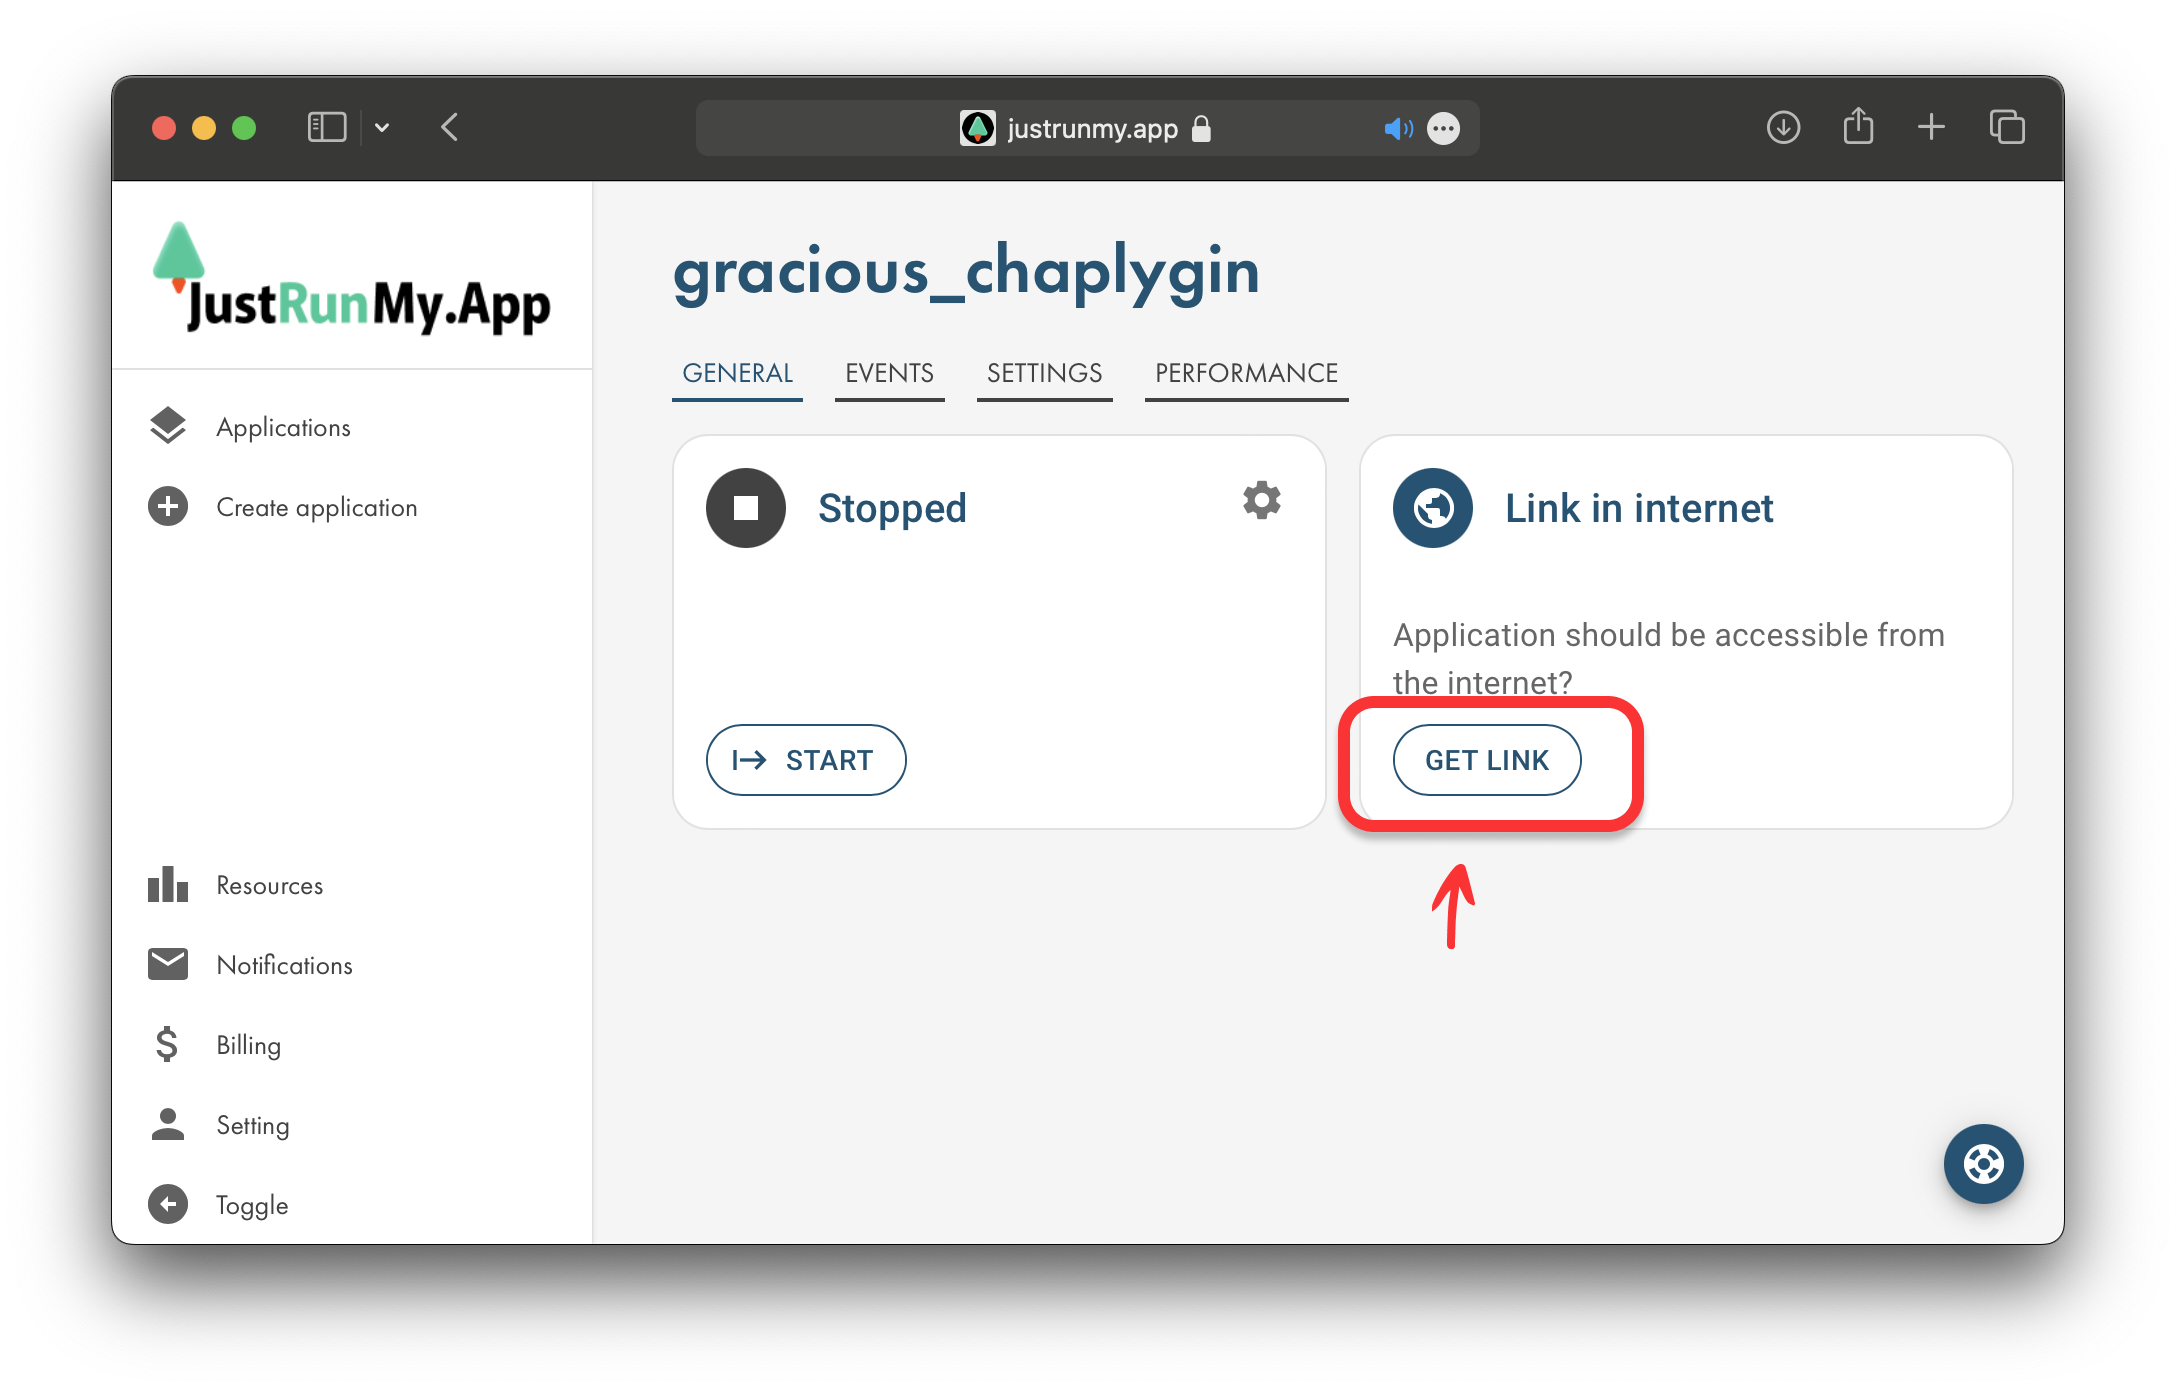
Now we have created a fresh application, it is not working yet and we need to add a port to be able to access it globally from the internet. Follow these steps to add the port:
- Click on "Get link"
- Set
5000port with typeHTTPSand click on "Add"
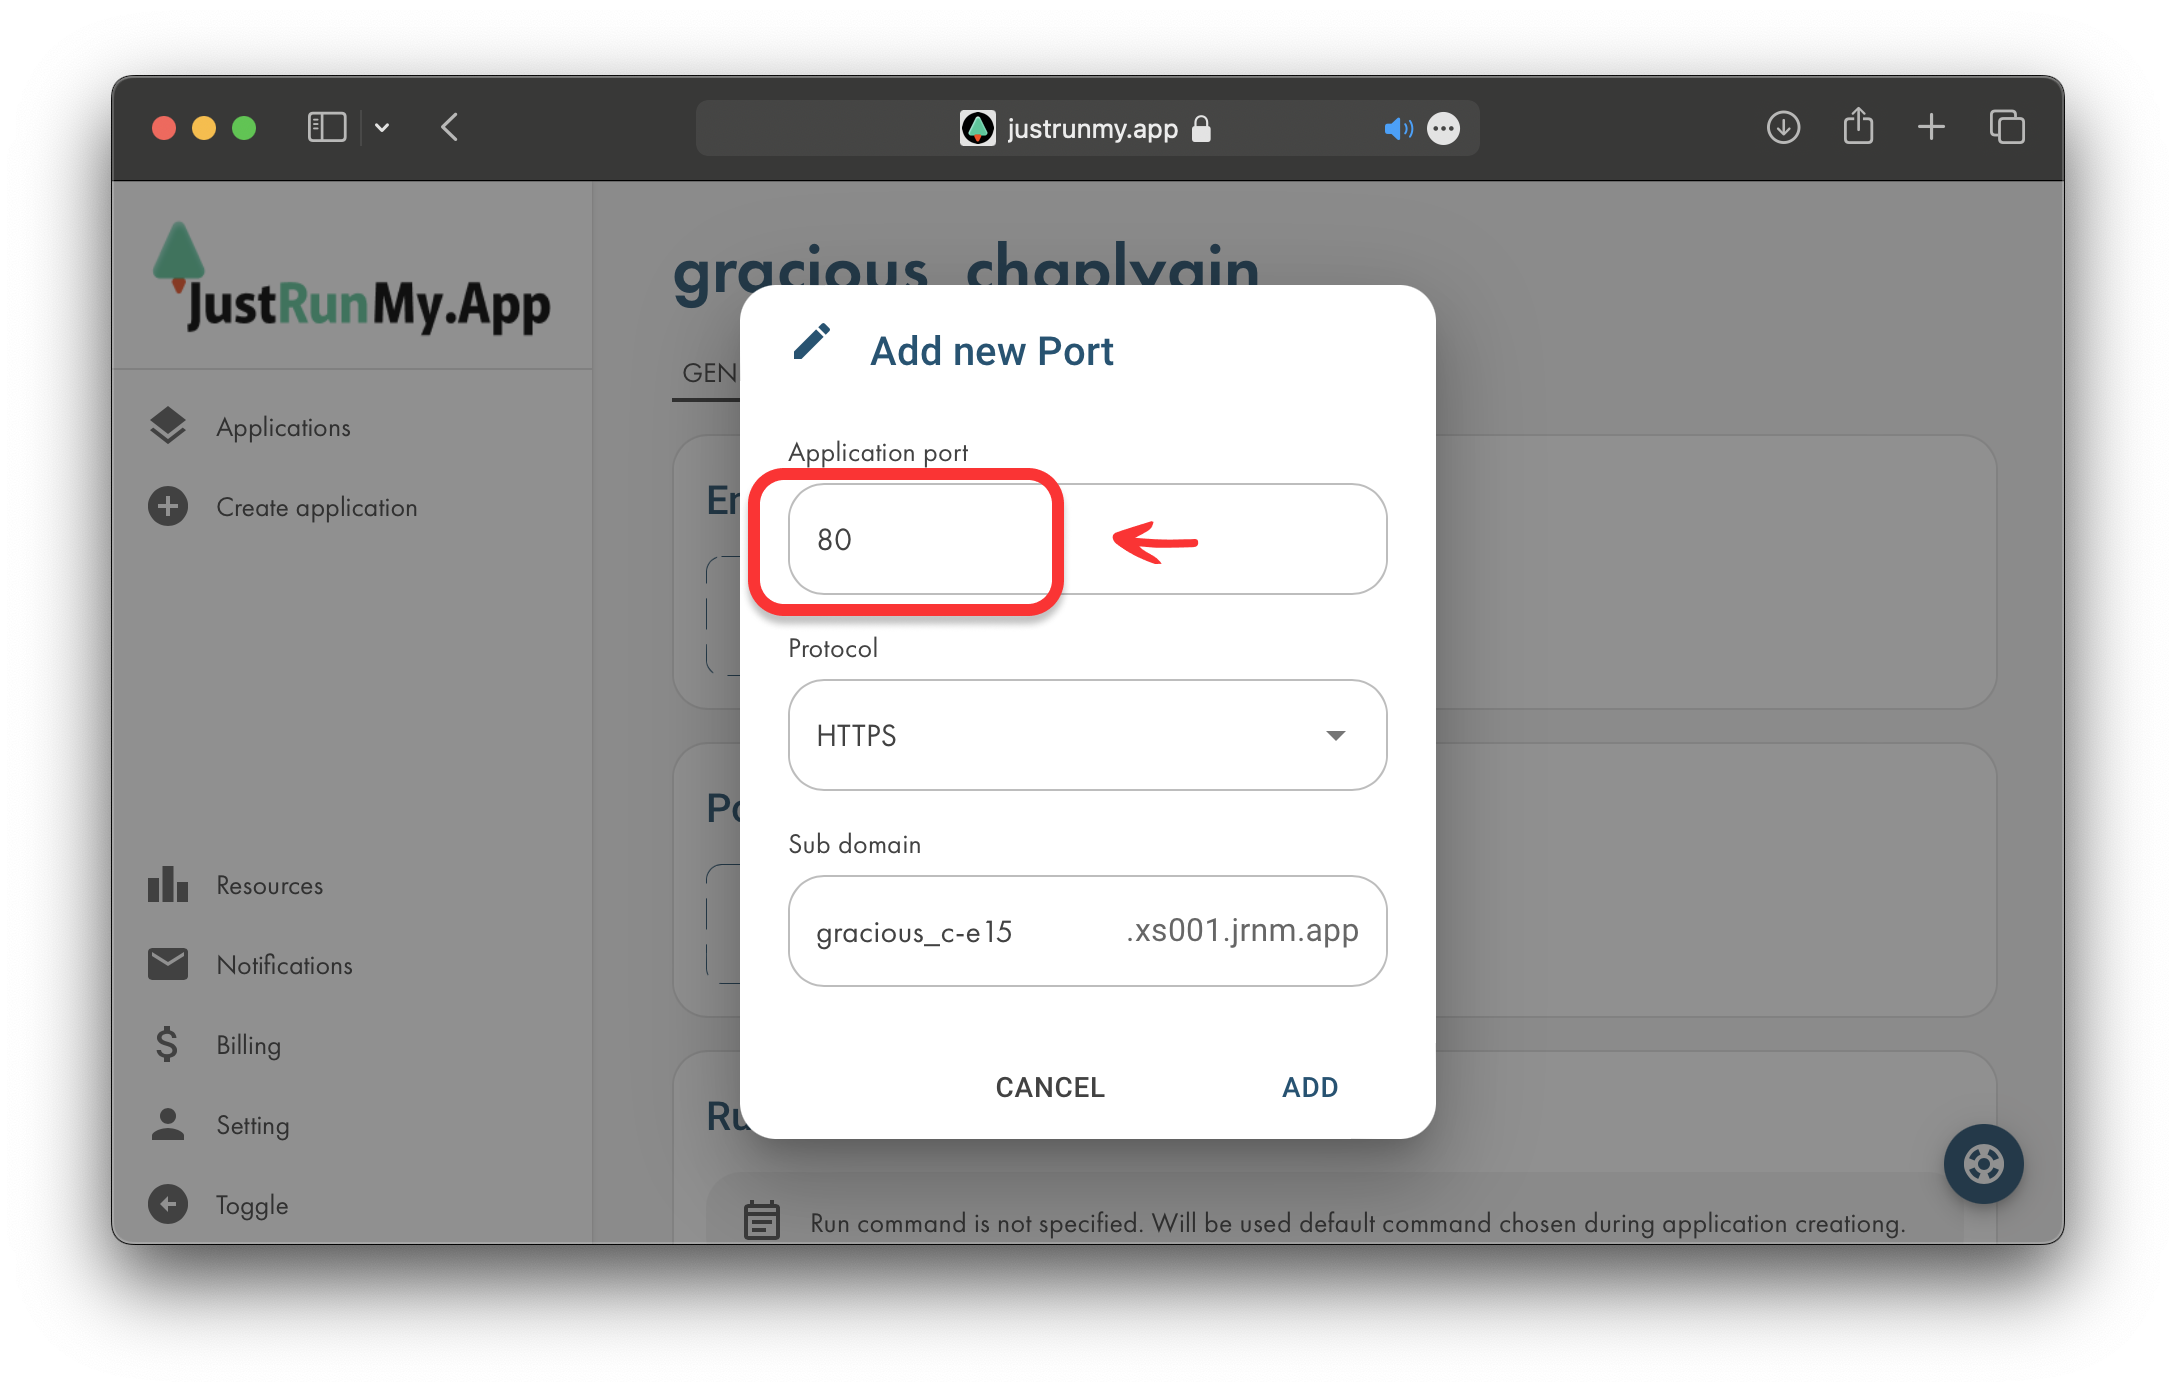
- (optional) You can set your "Sub domain" name to make the link more customized
- Switch to the "General" tab.
Deploying and Monitoring
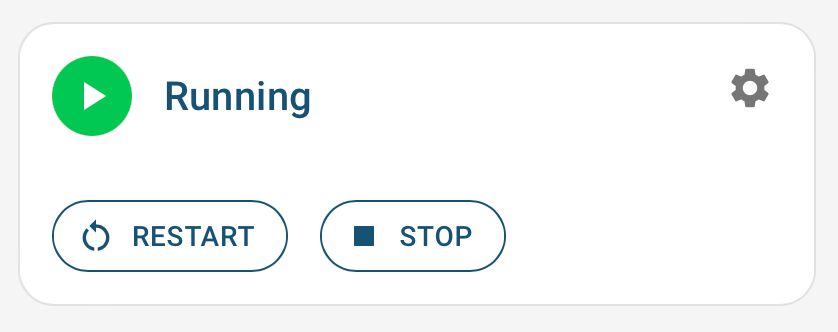
We have the created and configured application, let's launch it! Click on "START" button:

After successful launch you will see this indicator that tells us that application is running:
Now open the link in the "Link in internet" panel - this is hosted application that can be accessed from the internet.
Troubleshooting and Common Pitfalls
- Common Error 1: Missing Dependencies
- Ensure all dependencies are listed in the
requirements.txtfile.
- Ensure all dependencies are listed in the
- Common Error 2: Port Configuration
- Your app should be set to listen on the correct port (
PORTenvironment variable).
- Your app should be set to listen on the correct port (
Conclusion
Congratulations! You've deployed your first Flask web application using JustRunMy.App. With just a few simple steps, you've gone from code to a live app.
We invite you to explore more features, join our beta program, and share your feedback. Stay tuned for more tutorials on advanced topics.
Ready to Deploy Your Flask App?