How to Deploy a Go Application on JustRunMy.App
Hosting a Go (Golang) application can sometimes seem challenging, but with JustRunMy.App, it’s easy and straightforward. Whether you're a beginner or an experienced developer, our platform makes it simple with three easy steps: packaging and uploading your Go application, configuring the hosting settings, and launching your app. This guide will walk you through each step to help you host your Go application successfully.
Prerequisites
Before you start, make sure you have the following:
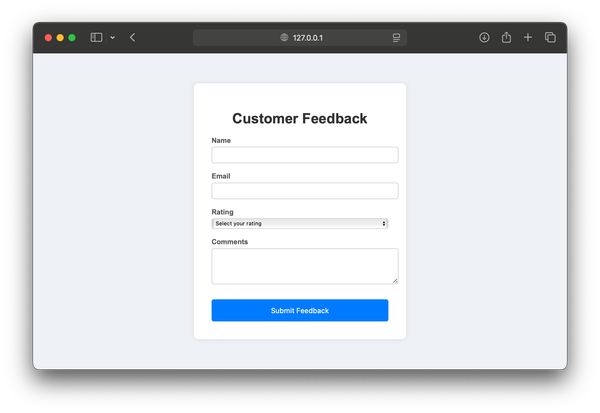
- A Go (Golang) application you want to host. This guide uses a simple "Hello, World!" web server as an example.
- A JustRunMy.App account. You can sign up for free if you don't already have one.
- Basic knowledge of Go programming and web development.
- Access to your application's source code and a terminal or command prompt to build and package the application.
Package and Upload Your Go Application
First, ensure your Go application runs correctly on your local machine. Once it does, you can build the application and prepare it for hosting.
Build Your Application
Open the terminal in your source code’s root folder and run the following command:
- For Windows:
$env:GOOS="linux";$env:GOARCH="386";$env:CGO_ENABLED="0"; go build -a -installsuffix cgo -o .\main.exe .
- For Linux or macOS:
CGO_ENABLED=0 GOOS=linux go build -a -installsuffix cgo -o main .
Explanation:
GOOS=linuxandGOARCH=386: Set the target operating system and architecture for the build.CGO_ENABLED=0: Disable C bindings to create a fully statically linked executable.go build -a -installsuffix cgo: Create a clean, optimized release version of your Go application.
Create a ZIP Archive
- For Windows: Right-click the folder containing your executable and select "Send to" > "Compressed (zipped) folder."
- For Linux or macOS: Run:
zip -r my-go-app.zip main [additional files or directories]
Upload the Archive to JustRunMy.App
- Log in to your JustRunMy.App account.
- Go to the dashboard and click "Create Application."
- Select
GOLANGoption and then click on upload button and choose your.zipfile.
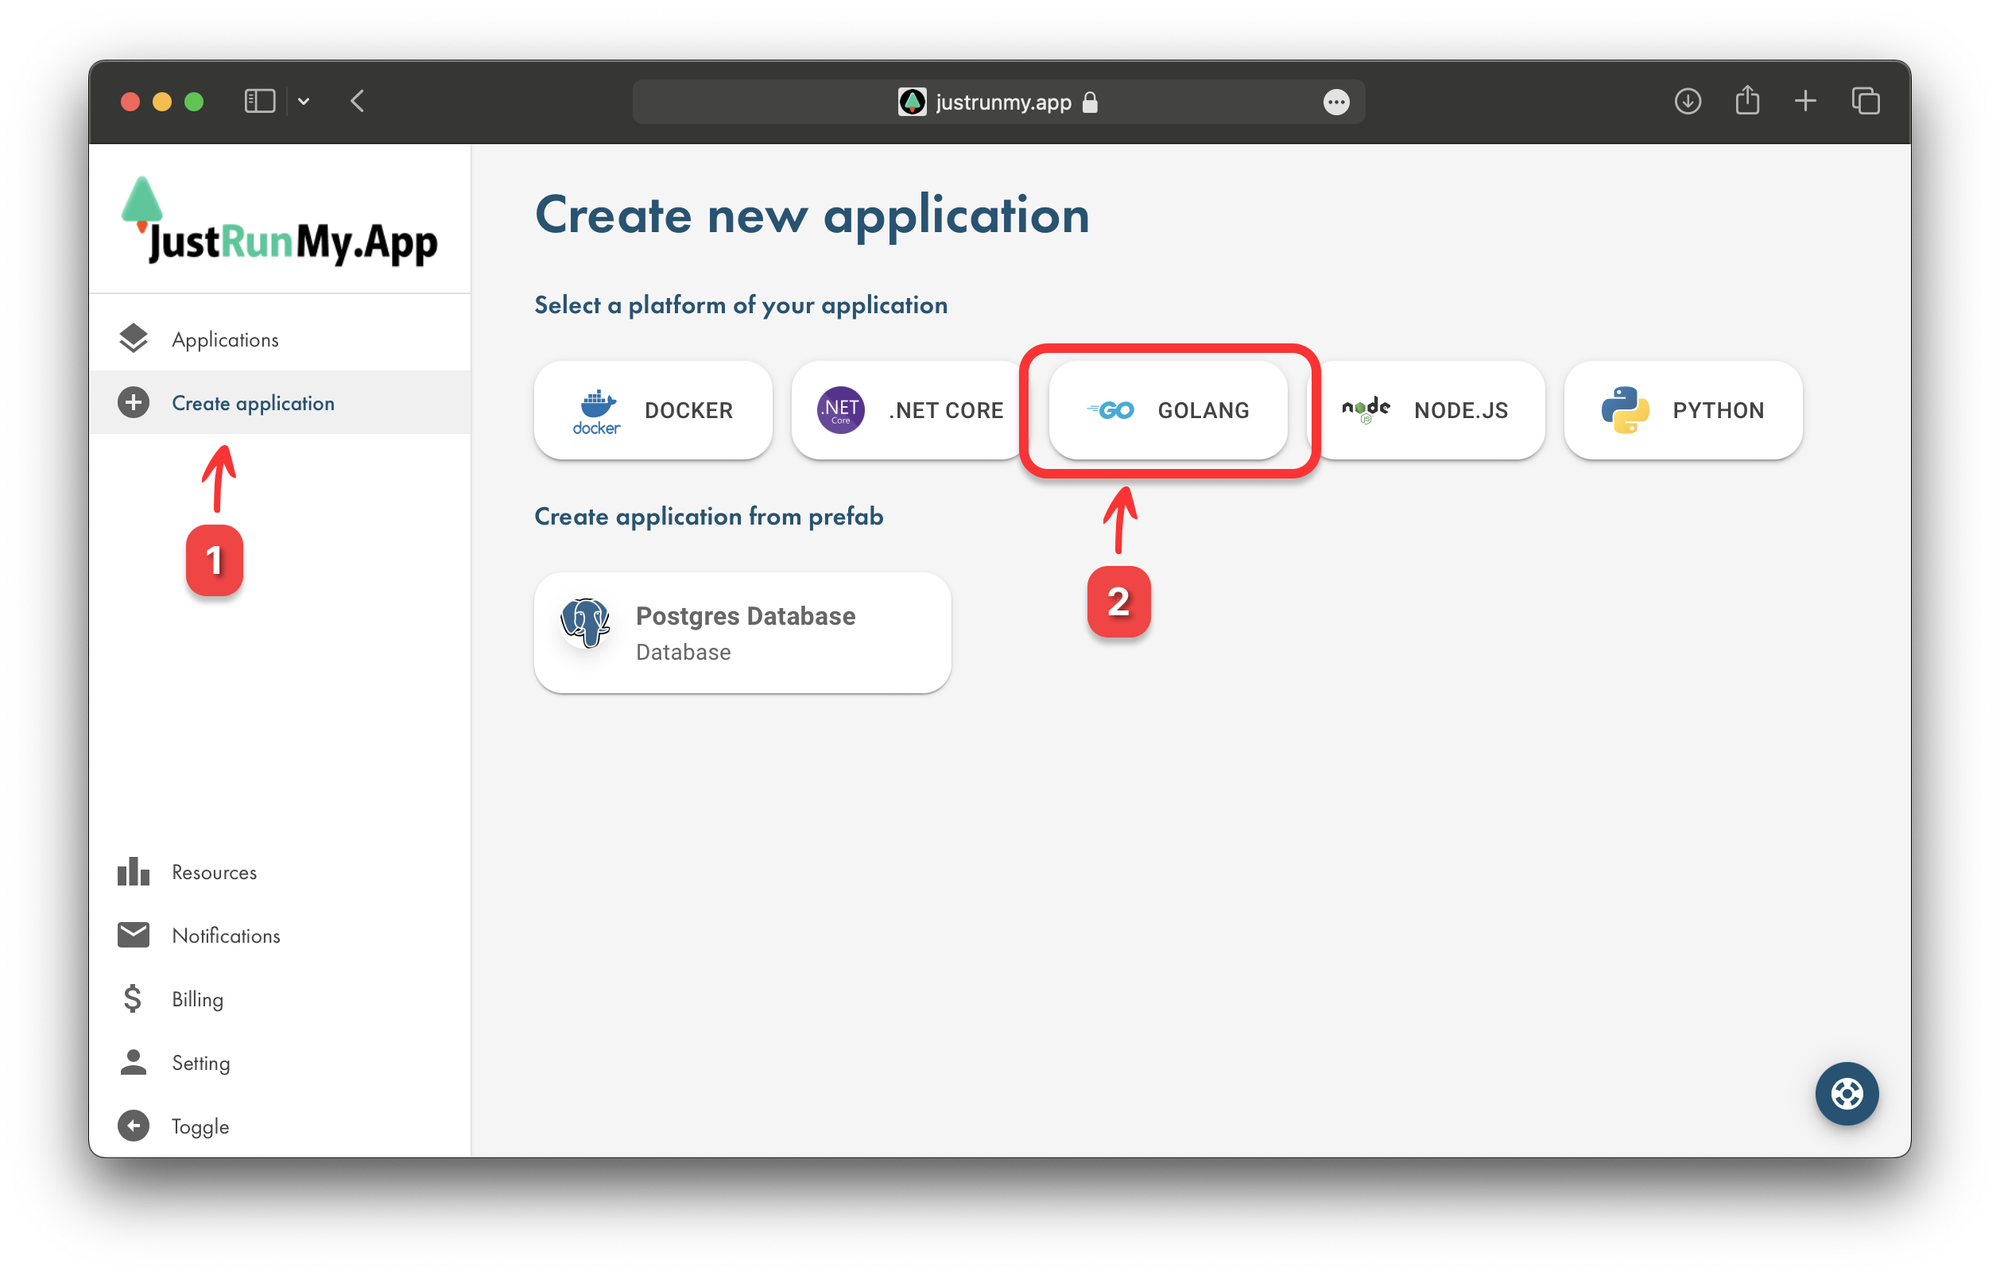
- Follow the prompts to complete the upload and prepare your Go web hosting environment.
Analyse and Configure Your Hosting Settings
Once uploaded, our system analyzes your archive to identify patterns for popular application types. For Go applications, it defaults to a binary executable hosting scheme, which works well for Go web hosting and other types of apps.
Review and Configure Hosting Settings
You will be prompted to review or modify suggested settings:
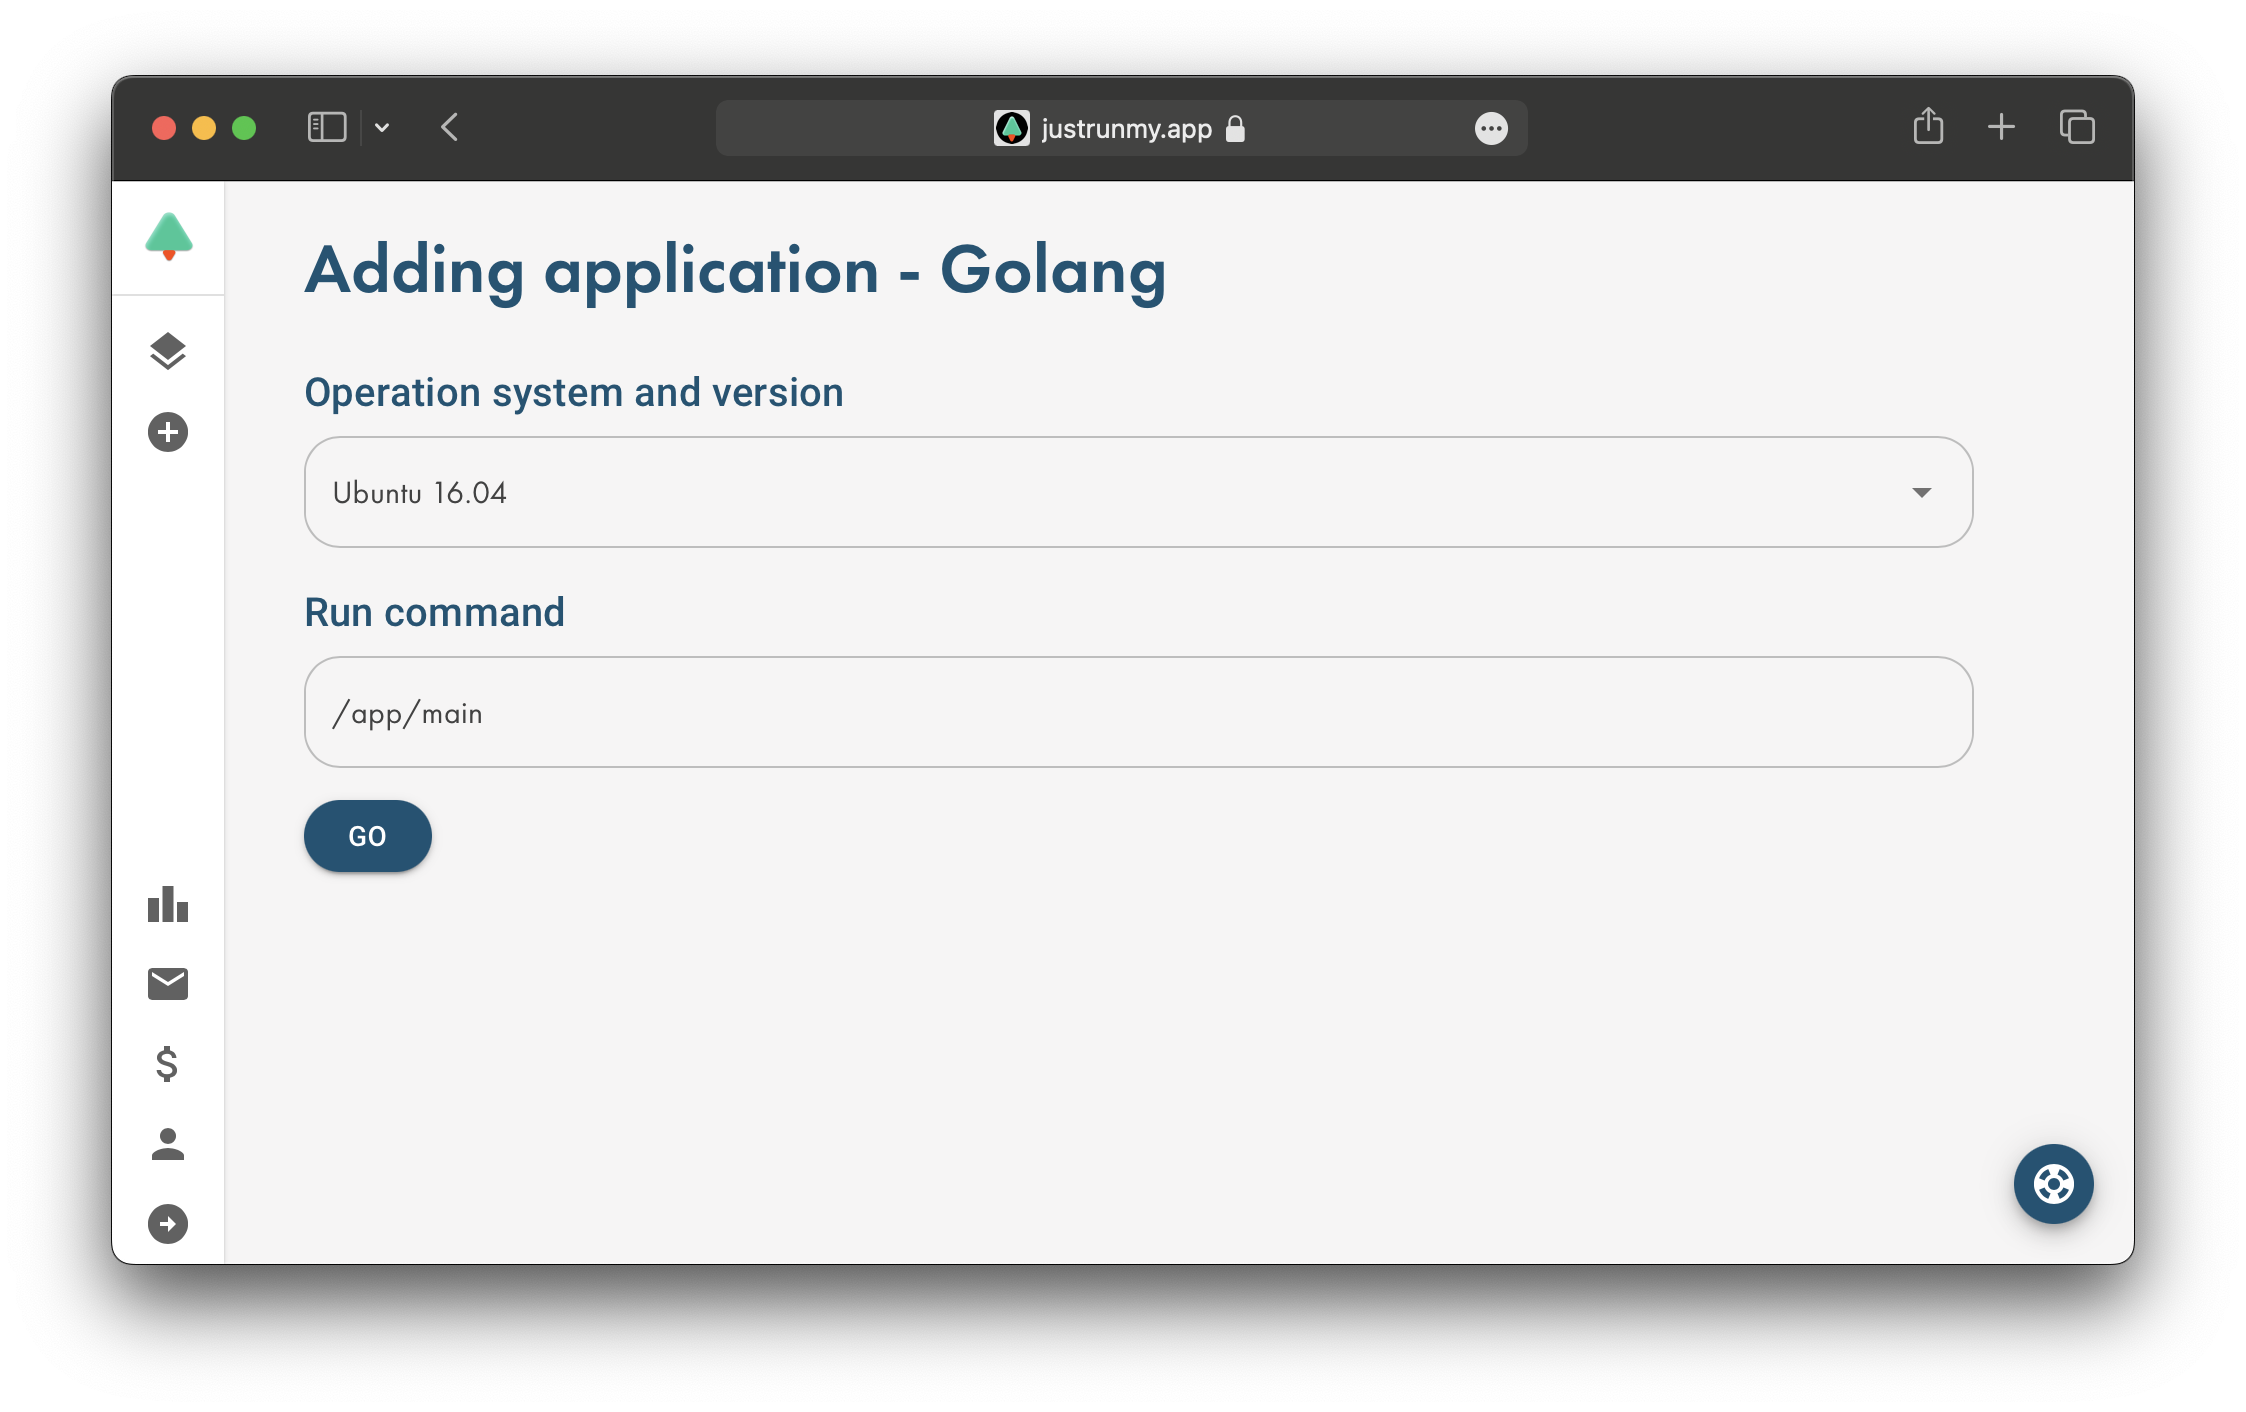
-
Operating System and Version: Choose the target OS and version.
-
Run Command: Specify the executable and any necessary arguments (e.g.,
./main).Default values should work for most Go applications, but you can adjust them if needed.
Confirm and Proceed
Click the "GO" button to confirm the settings and begin preparing your application for hosting. You’ll be redirected to the application's page once the preparation is complete.
Launch and Configure Your Go Application
Once your Go application is created, it’s ready to be hosted. If your application is a web server or needs public access, you may need to configure one more setting.
Configure the Port (Optional)
- Go to the "Settings" tab and add the port your application listens on (e.g., 80, 443, 3000, 5000, 8080).
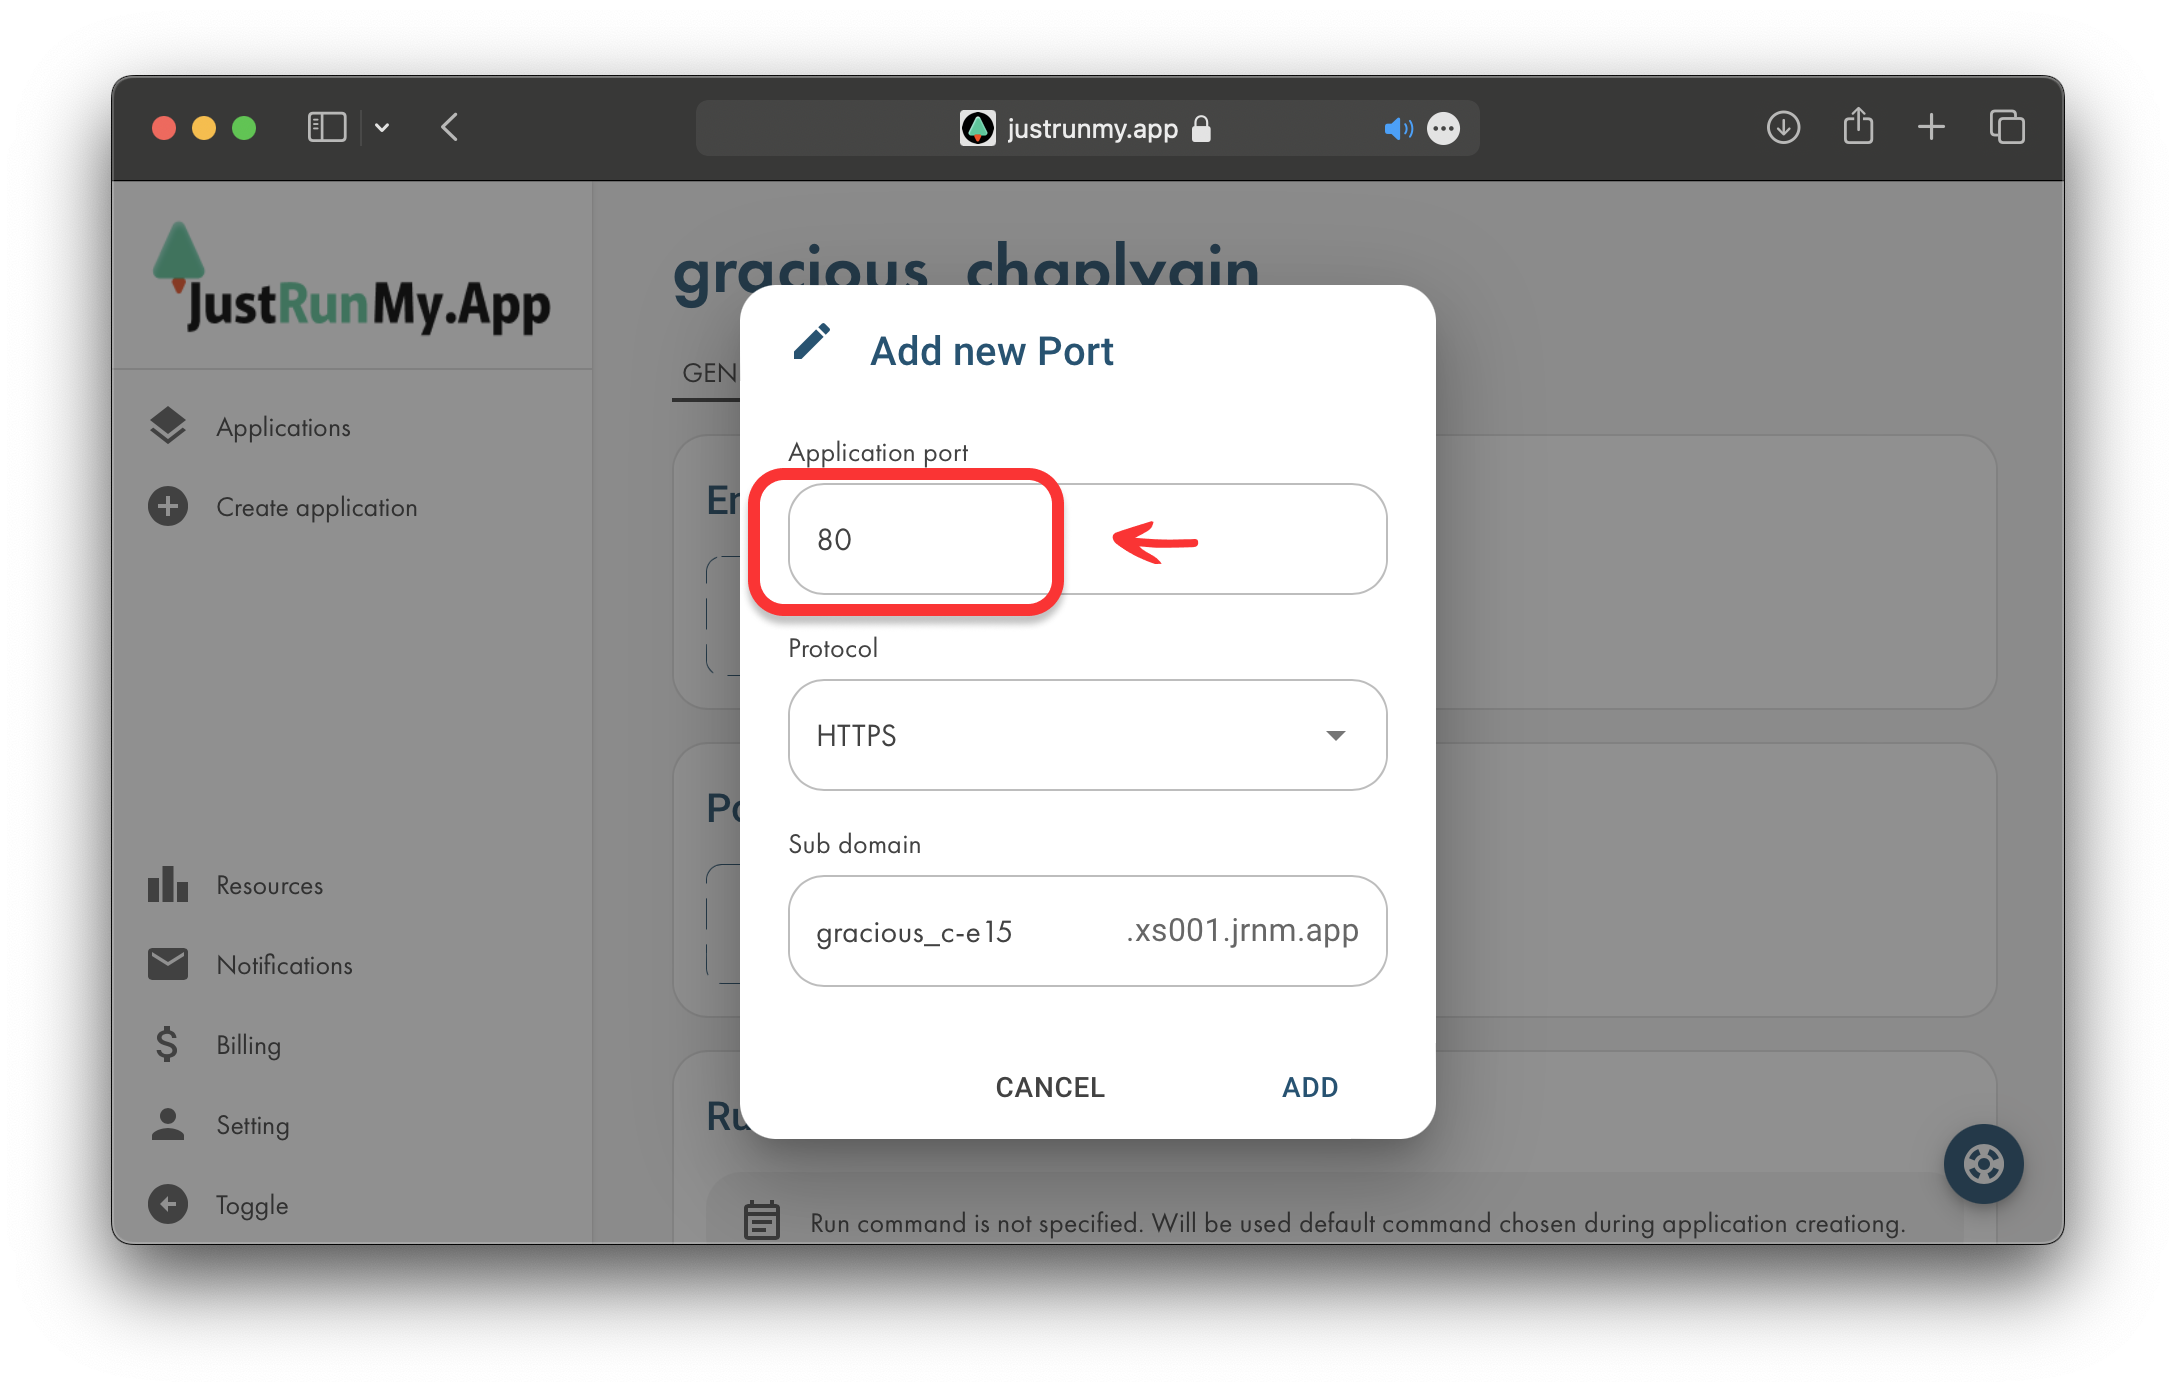
- Make sure the port matches what your application is set to use.
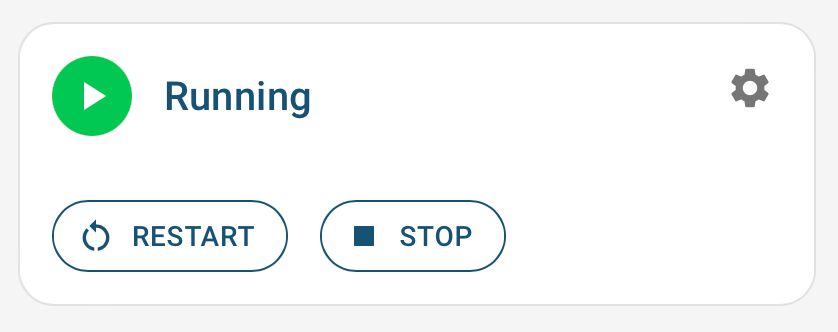
Run Your Application
- Click "Start" in the "General" tab.

- Wait a few seconds for the application to start; you’ll see a "Running" status once it’s live.
Test Your Hosted Application
Verify Accessibility
- Use the provided link or connect to the specified host and port from the "General" tab.
- If you encounter any issues, check:
- The correct port and protocol settings.
- Ensure your application is binding to
0.0.0.0to allow external access.
Check Application Logs
- Open the "Diagnostics" tab to view real-time logs from your application’s
stdout. - Add custom logs to your Go application for more detailed monitoring.
Access Log Files
Go to the "Files" tab, select the log file, and click "Edit File" to view or modify it.
Conclusion
Hosting a Go (Golang) application on JustRunMy.App is simple and efficient. With just a few steps, you can package, configure, and host your Go web application or any other Go-based service. Our platform is designed to help both beginners and experienced developers achieve easy and reliable Go hosting. If you have any questions or need further assistance, feel free to contact us at support@justrunmy.app.
Start your Go hosting journey today with JustRunMy.App and experience hassle-free hosting for your applications!